Common Repair Problems - Conventional Reels
 By MizMo
https://www.mysticparts.com/
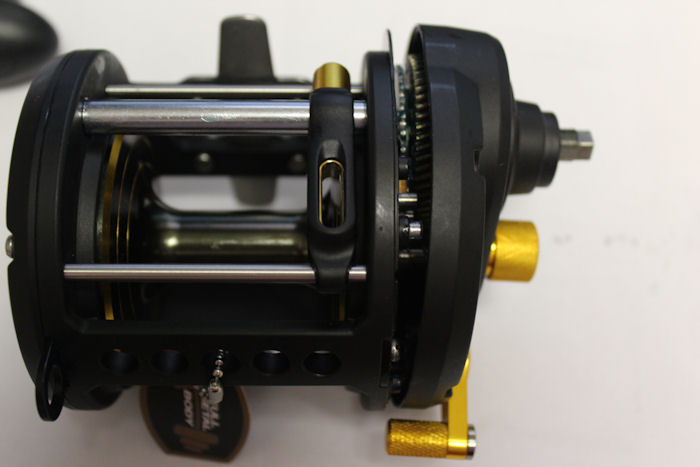
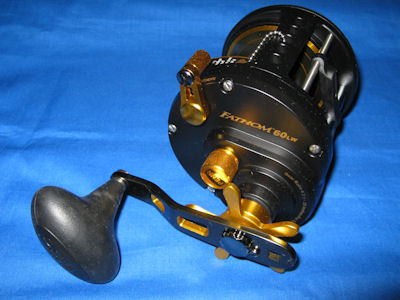
Fathom FTH40LW and FTH60LW models with reversible lugs
Walk-through of breakdown and reassembly. This should work as a guideline for all the Fathom Levelwind reels. Only the 40 and 60 have the harness lugs.
-
Turning Non-handle side lug into useable position.
Turning Handle side lug into useable position.
Non-Handle Side Plate Assembly.
Positioning of the Line guide.
Accessing the gears and drags (Removing Handle).
Order of the drag washers, setting up the gears.
Position of the dogs on ratchet.
Eccentric Lever and spring.
Star drag with retainer and spring.
Reassembling handle.
Turning the harness lugs into the useable position.
Factory default is turned down inside the reel in non-usable position.
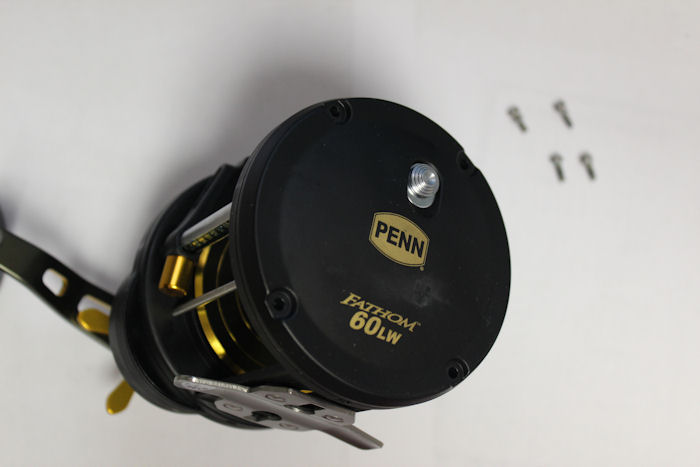
NON-HANDLE SIDE LUG: We'll start with the non-handle side. Remove the screws. They are all the same size/length, so order does not matter, but be careful not to lose the small white washer that goes with each screw.
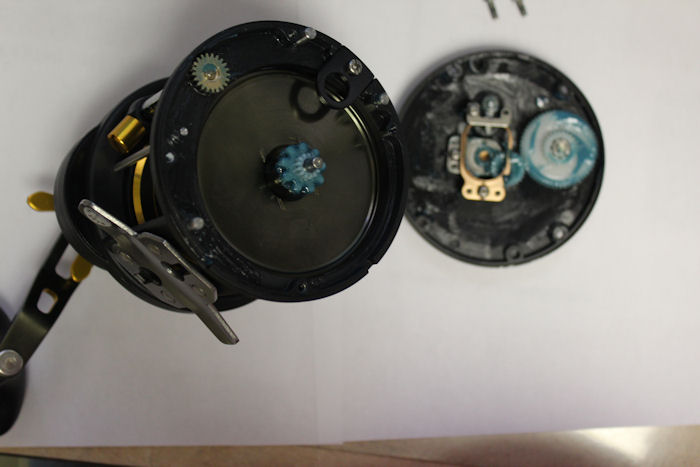
GENTLY! Remove the plate. You can see the harness lug in the down position.
Unscrew and turn the harness lug around, re-attach the screw. Put the plate back on and re-install the plate screws.
DO NOT proceed to work on the other side until you have the non-handle side put completely back together! Otherwise the entire reel will come apart.
Accessing gears and drags. Turning the harness lugs into the useable position.
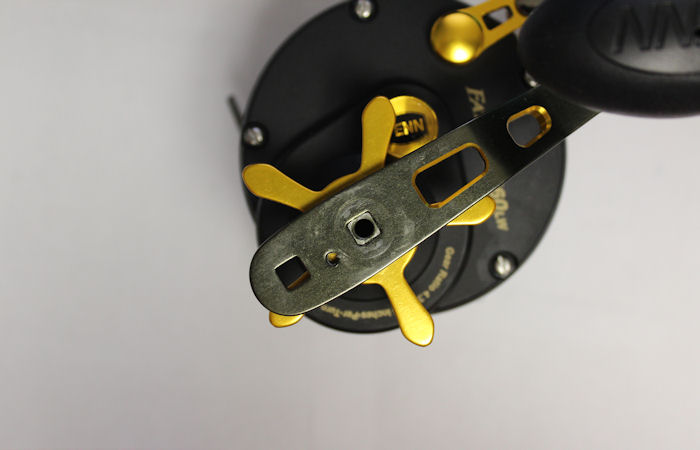
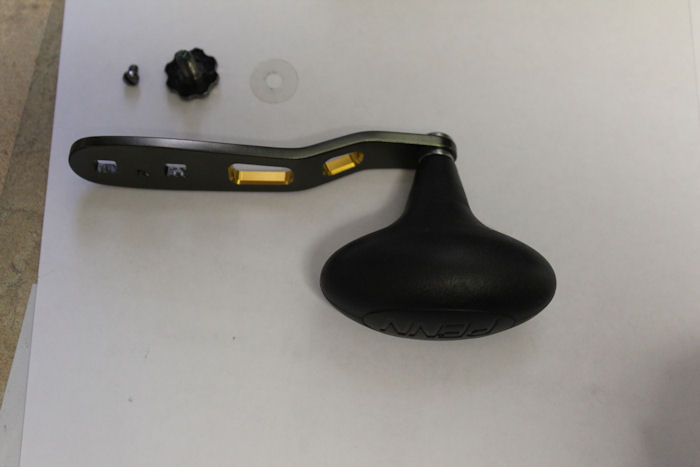
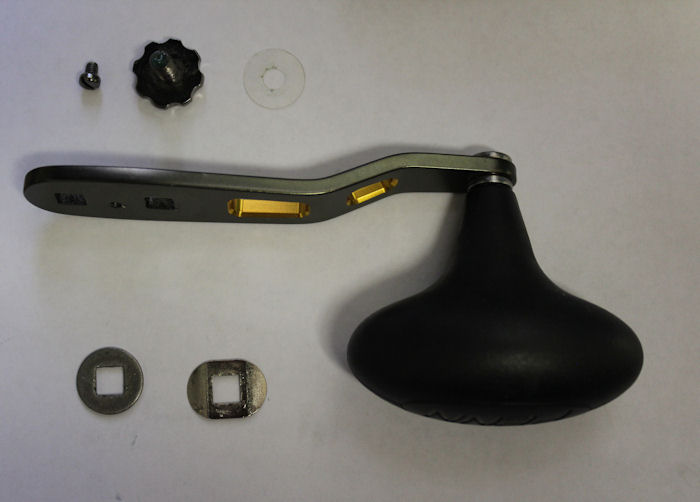
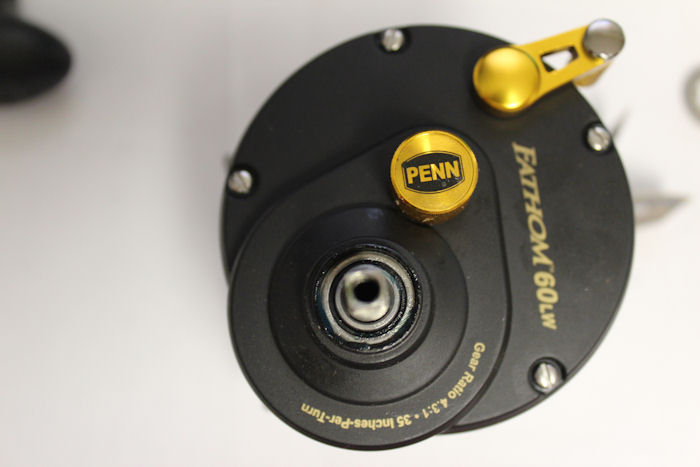
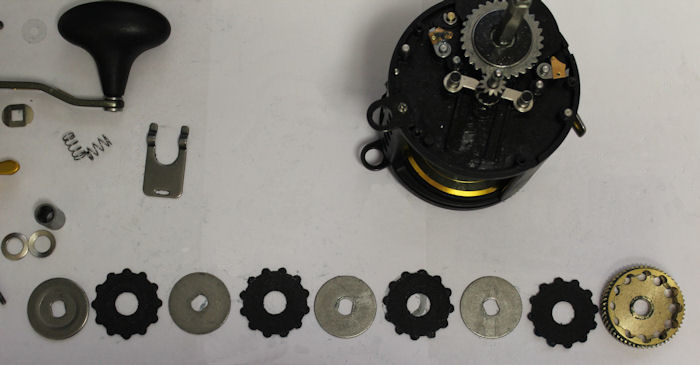
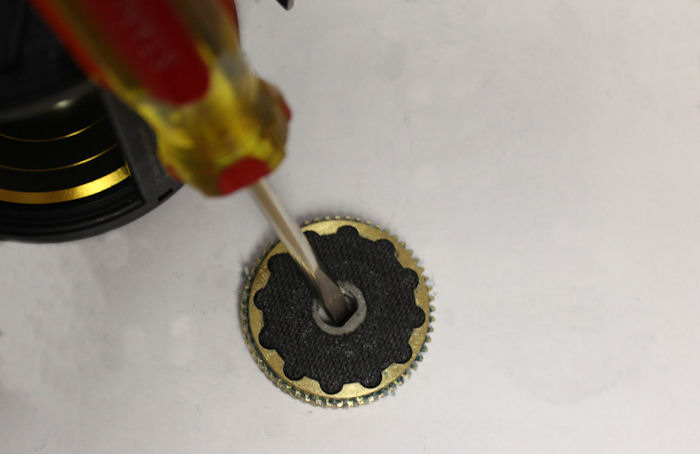
HANDLE SIDE LUG: Start by removing all of the handle components so that the plate can be removed.
Unscrew the handle lock screw and the handle nut. Remove the clear plastic washer and remove the handle. It's a snug fit on the square and of the bridge sleeve, so you will probably have to wiggle it a little to get it loose.
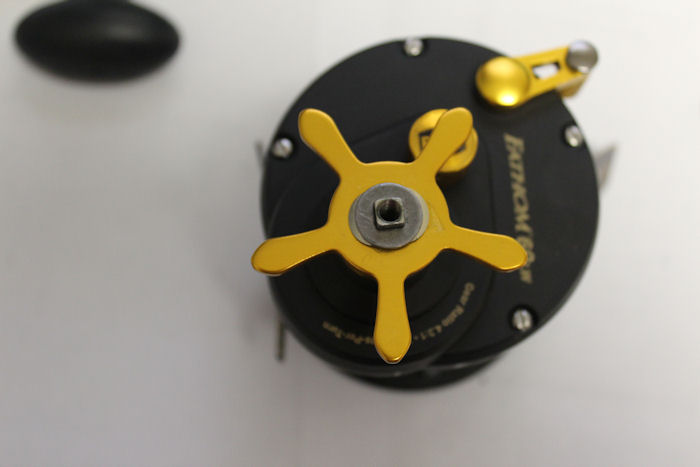
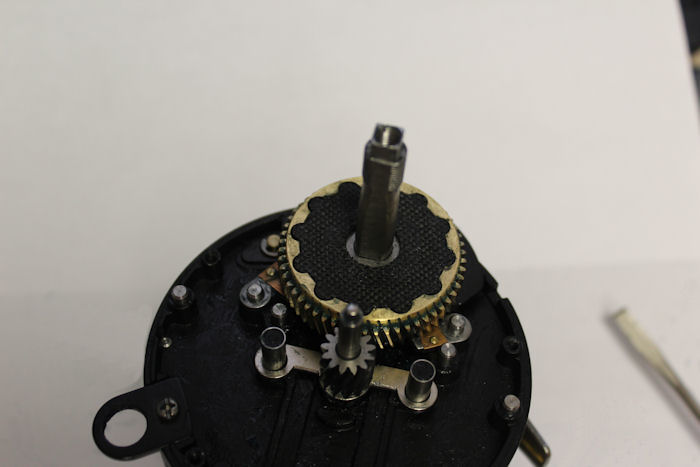
Take note of the positioning and order of all of the washers above and below the star drag. There are quite a few. Lay them out on the bench in the order/position that they were in on the reel.
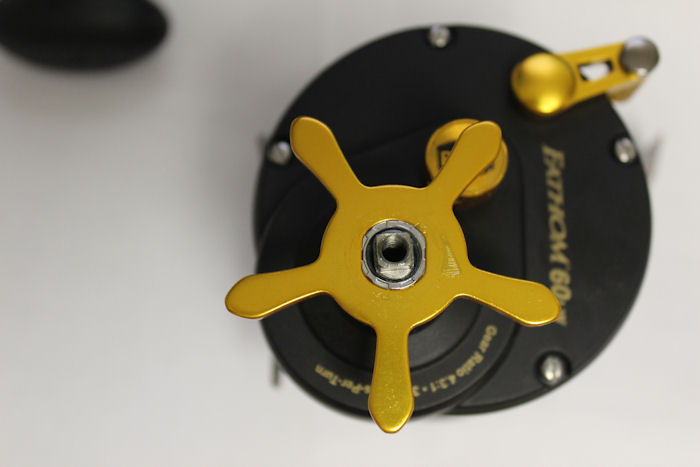
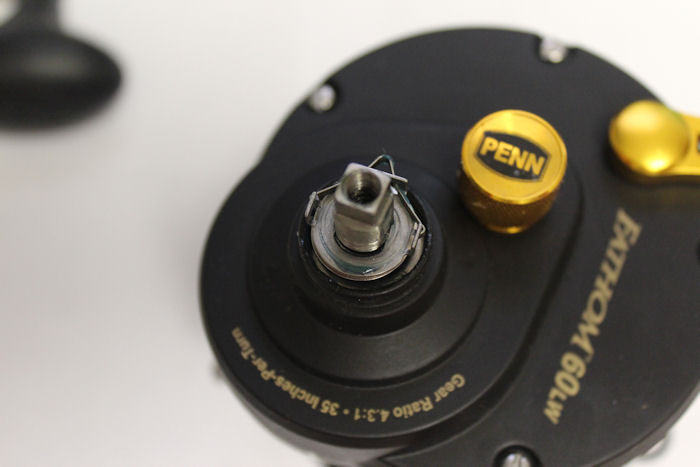
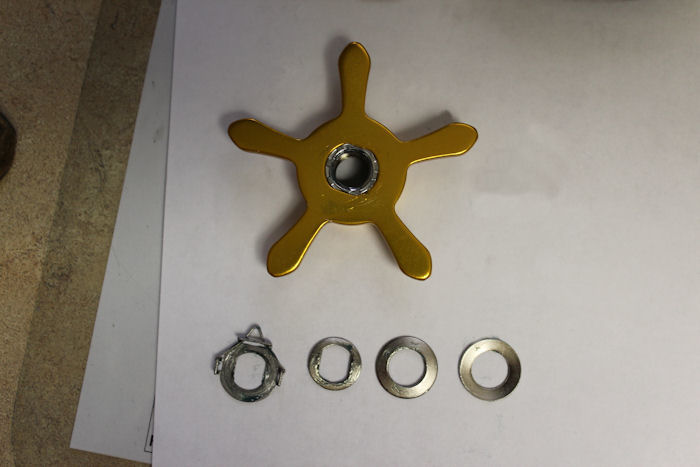
Unscrew the star drag and remove the washers underneath. Again, take careful note of the order and positioning of the washers. Also remove the spacing sleeve from around the shaft; it should just slide out if you tilt the reel.
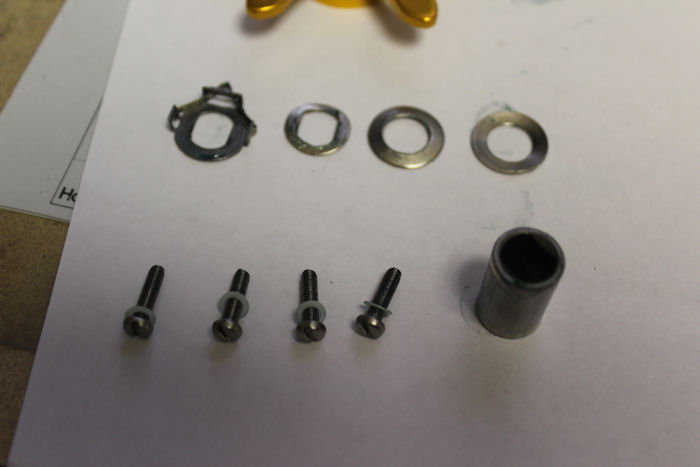
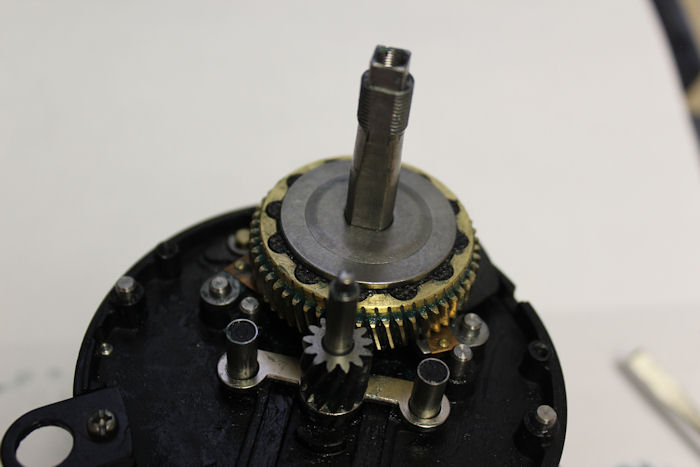
The spacing sleeve has an open end and an end with beveled edges. The beveled edges face up towards the handle when you reinstall the sleeve. Now that the handle setup is completely removed, you can unscrew the plate screws. Again, they are all the same size, and keep an eye on those small white washers.
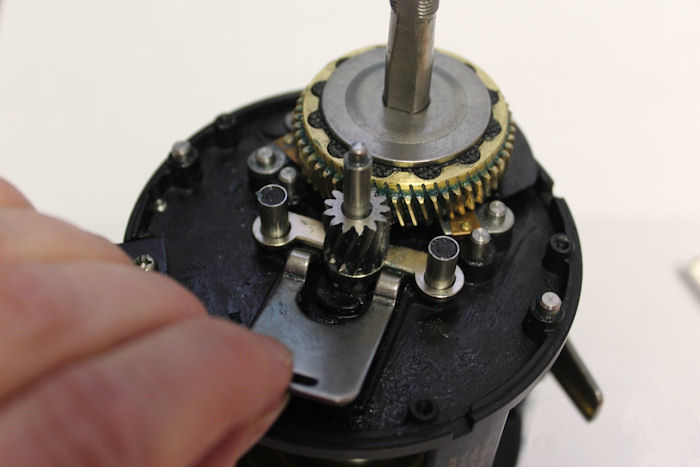
GENTLY! Here's where it gets tricky. If you yank this apart, everything can come loose. If you take your time, you may only have to put the yoke springs back in place. Holding the spool in place with your left hand, slowly and gently pull the handle side plate straight off.
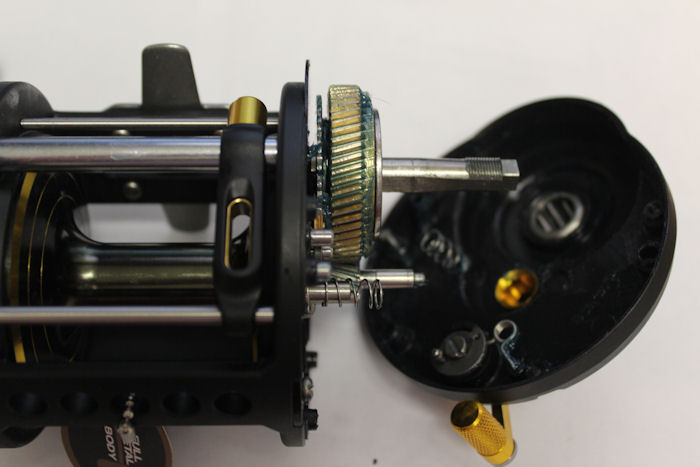
As you can see here, one of the yoke springs did cling to the plate. I tucked it back into place once I straightened the reel out on the bench.
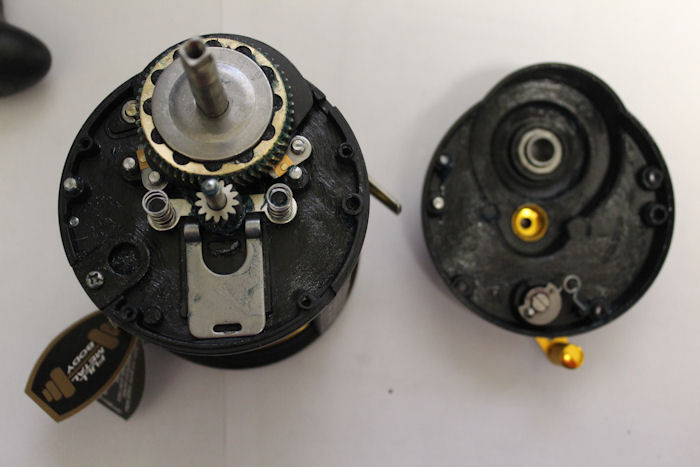
You can see the harness lug. Unscrew it and turn it into position, then reattach it.
Once you've turned around the lug like so, pick the plate back up and line up the screw holes, re-installing it by setting it straight back down onto the assembly. Reattach the screws to seal the plate, then put the handle components back on.
back to top
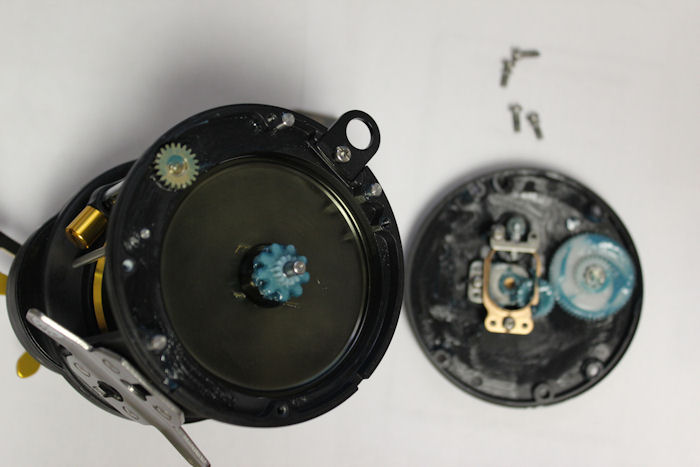
Positioning of the Non-Handle side plate and parts
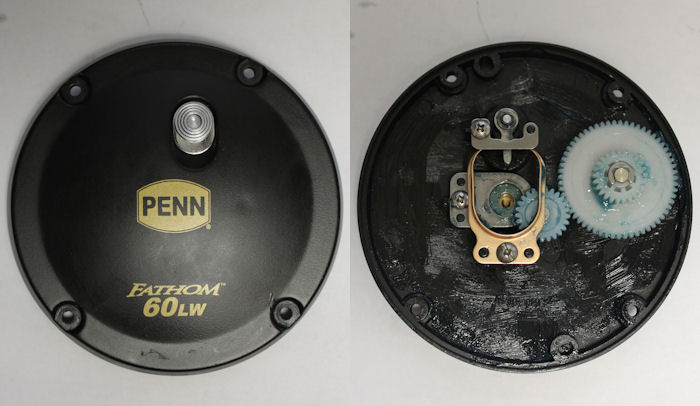
Just taking one picture of this without breaking it down, as it's pretty self-explanatory just seeing all of the parts in the correct positions.
back to top
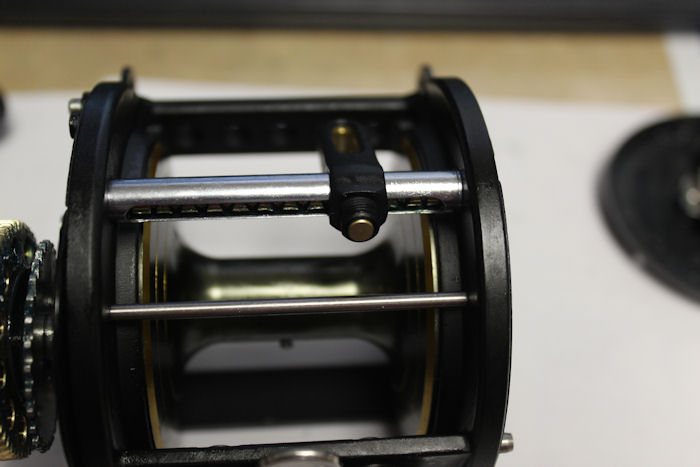
Positioning of the Line Guide
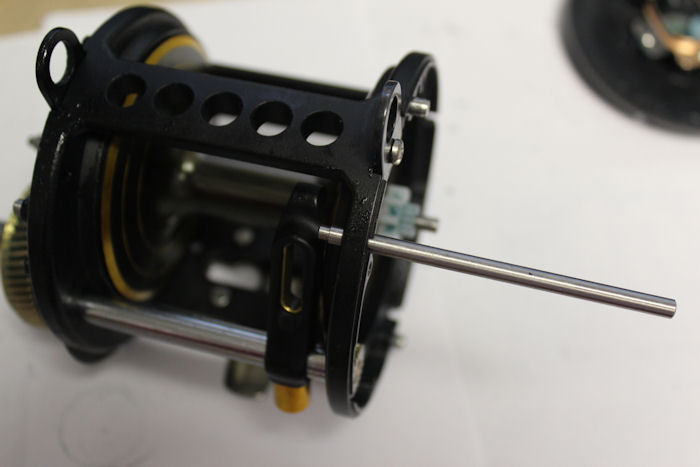
The line guide post is installed from the non-handle side of the reel.
The worm shown from non-handle side, you can see the end with the brass gear.
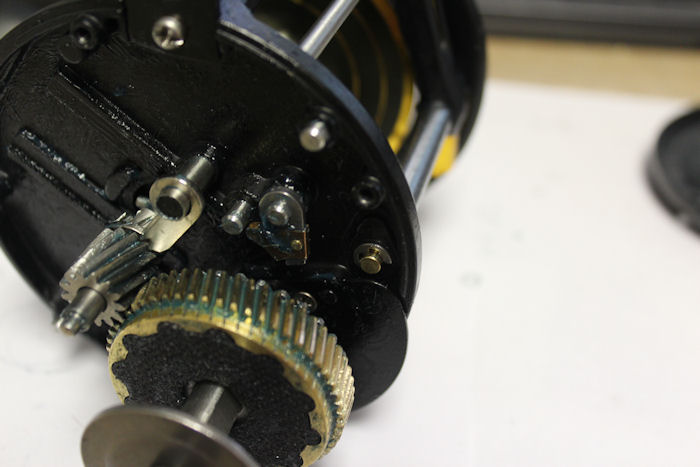
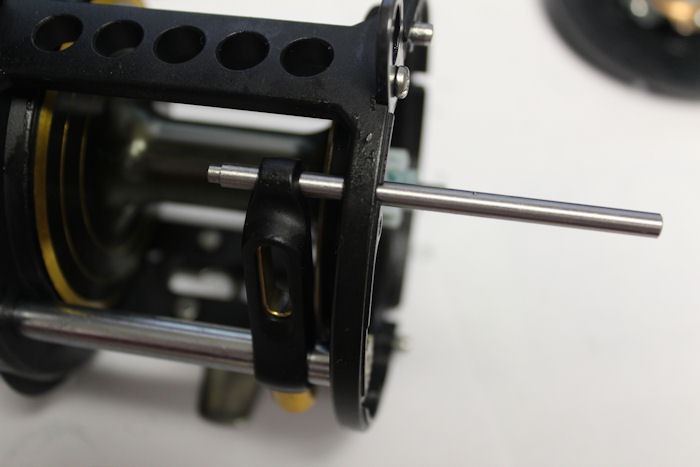
The handle side, you can see the end with the worm is held in place with the c-clip.
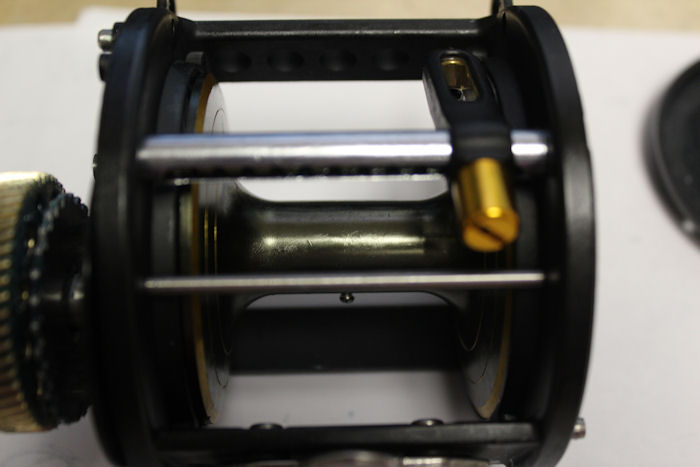
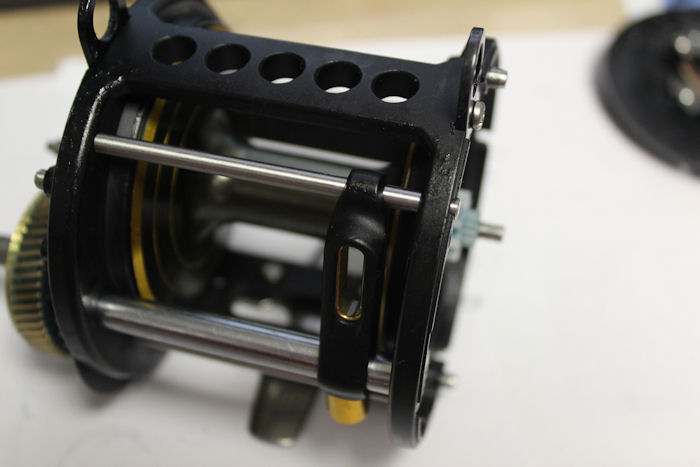
Shot of the lineguide in position. Unscrew the gold pawl cover cap to access the pawl.
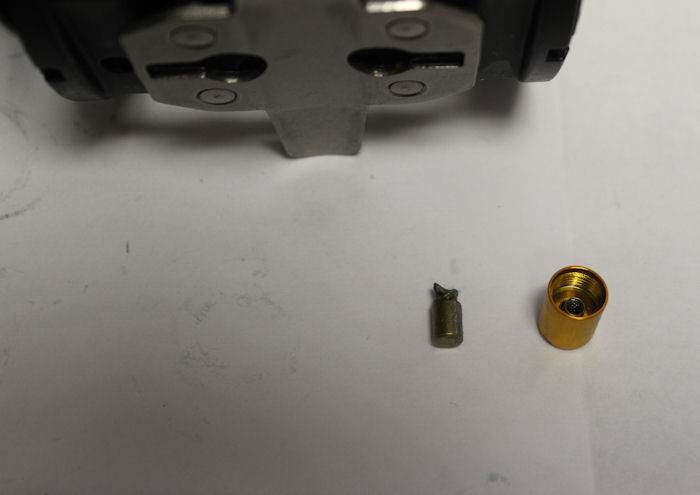
Pawl and pawl cover cap.
End of the Pawl as seen when it is correctly installed into the worm.
back to top
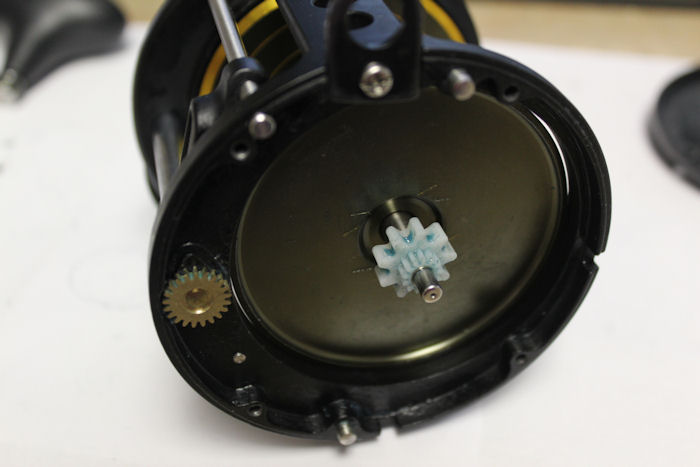
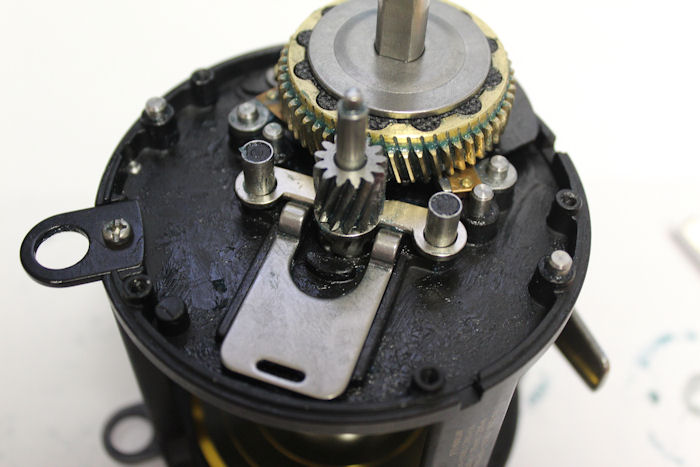
Setting up the drags and gears
Order of the drags into the main gear
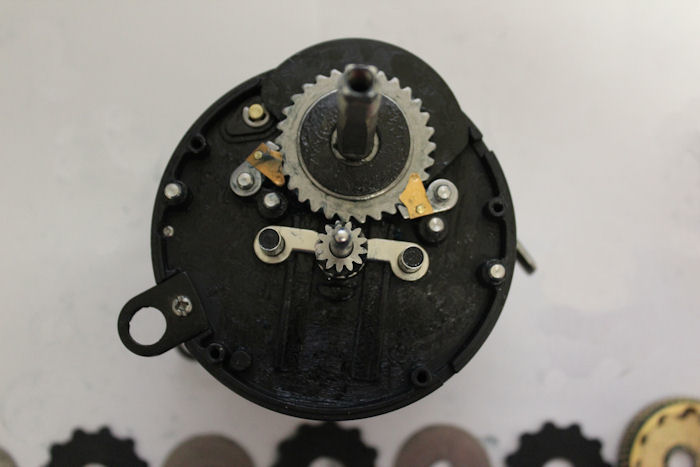
The positioning of the 98R ratchet, the 98W ratchet washer and the 4 hard fiber washer.
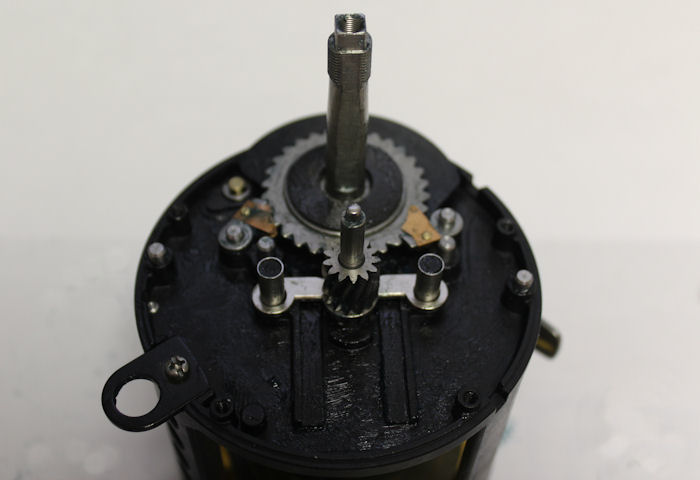
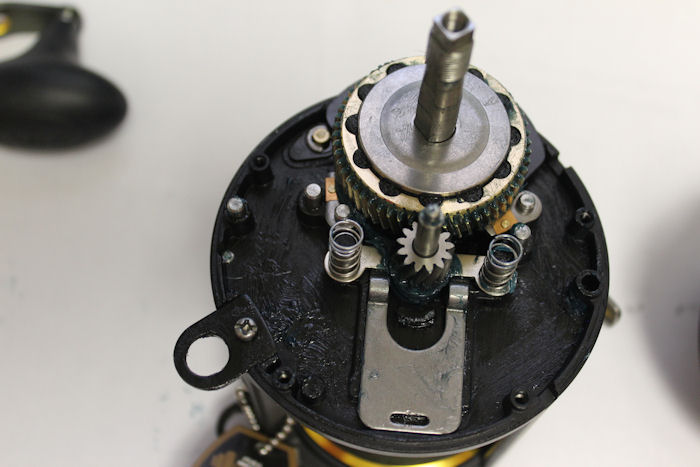
Note the position of the dogs on the ratchet. Pinion and yoke already in place here. To install the yoke, slide the pinion gear up the shaft a little bit. Slide on the yoke, then drop back down onto the posts.
Use a flat head screw driver to line up the straight edges of the metal drags.
Install the main gear and washers
Add the v7H washer on top. Note the curve of the washer.
back to top
Installing the #11 eccentric jack against/under the #12 pinion yoke
back to top
Put the two #18 yoke springs on the posts. Note the position of the eccentric lever parts on the handle side plate. Line up the plate and re-install it straight down onto the drag assembly.
back to top
Reassembly of Handle
After the plate is lined up and in place, secure with the screws/washers and put the sleeve back on. Reminder: the beveled end of the sleeve should be facing up on the shaft.
Put the washers onto the shaft. Shown in this photo start from the right and go left. Note the curve of the two #8 washers.
Washers reinstalled, now add the star drag.
This can be tempermental to install. You may find that part of the way down it just spins the shaft instead of threading on.
This should be all of the parts that you have left on the bench at this point.
Make sure the curved washer is positioned correctly. It should form a dome under the flat washer.
The transparent washer goes between the handle nut and the handle blade.
Install the transparent washer, handle nut and locking screw and you are all set.
back to top

Braintree by PayPal
is also our credit card processor
under our MysticParts account
for all purchases as of 1/19/2024
is also our credit card processor
under our MysticParts account
for all purchases as of 1/19/2024

11/30/2024 This is the spot if you fix Penn reels. What a awesome shop. Great website. Schematics of reels on hand with available parts list. Best shop around. Since you can't walk into Penn reels in Philly anymore, this is the next best thing. Thanks for your services!!!!! Even parts for vintage reels. Delivery is super quick as well.
10/23/2024 Easy to order parts and they shipped fast. Great seller! Hope to do business with them again! If you do not find what you are looking for do a Google search with Mystic Reel Parts in the search with your model. I have a Penn 285 and 9 and it took me to the exact page for both. Also have the reel schematics.
02/21/2025
I luckily found MysticParts via a Google search. Their website is comprehensive and I was at a loss on what I needed. Fortunately the “contact us” option was user friendly. To my delight I got a personalized and VERY helpful response right away. She asked questions to fully understand my needs and then followed up with links to the right parts. We continued our email exchange regarding my second reel issue and, again, she was extremely knowledgeable and gave me both practical as well as professional solutions.
If you need reel parts and assistance with repair and maintenance, do not hesitate to work with them.
